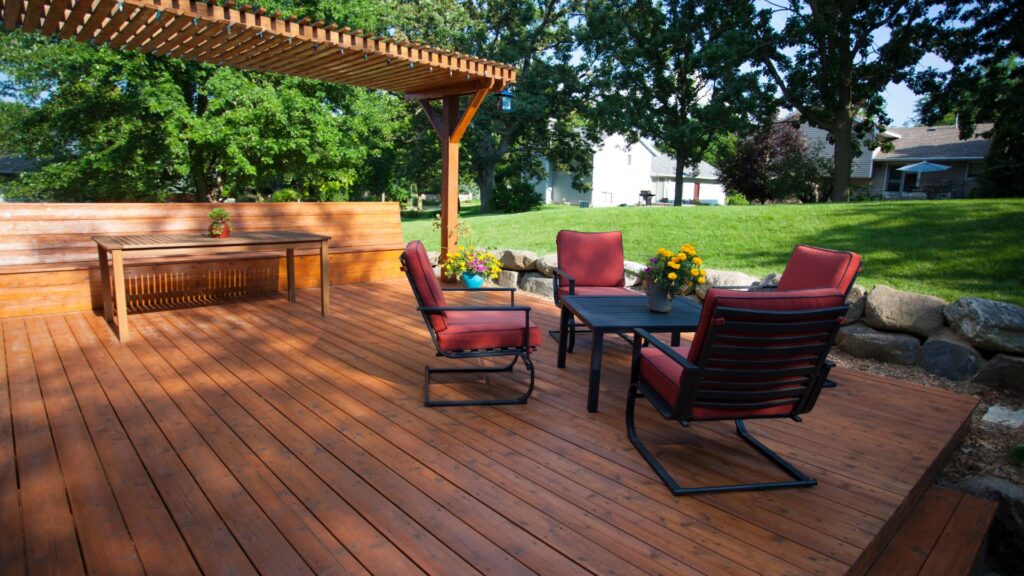
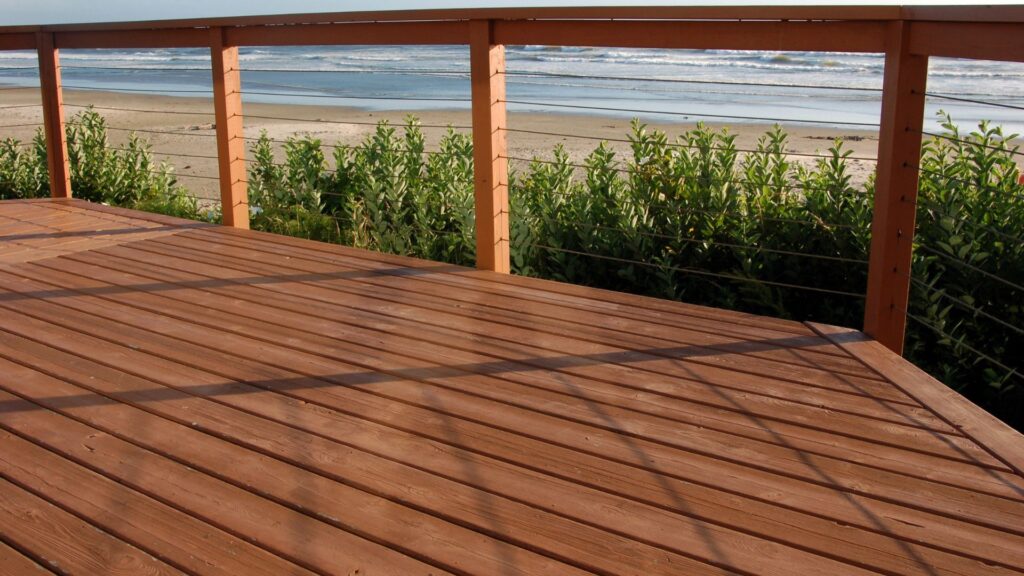
Welcome to our comprehensive guide on how to stain a deck in New Zealand! If you’re a homeowner or a DIY enthusiast looking to enhance the beauty and longevity of your wooden deck, you’ve come to the right place. With New Zealand’s unique weather conditions, including intense UV exposure and varying humidity, it’s crucial to protect your deck with the right stain to keep it looking its best year-round. In this guide, we’ll walk you through everything you need to know about staining your deck, from choosing the perfect stain to step-by-step instructions for a flawless finish. Whether you’re a seasoned DIYer or a beginner, these practical tips will help you achieve a beautiful, durable deck that can withstand the elements and bring your outdoor space to life.
To stain a deck in New Zealand, start by choosing a stain suitable for your deck’s wood type and the local climate. Prepare the deck by cleaning it thoroughly, sanding it smooth, and repairing any damage. Apply the stain evenly with a brush or roller, working in small sections and following the wood grain. Allow the stain to dry completely between coats, and ensure the weather is dry and mild during the process. Proper staining will protect your deck from UV damage, moisture, and wear, keeping it looking great for years to come.
Table of Contents
Understanding Deck Staining
Deck staining is a crucial aspect of deck maintenance that not only enhances the appearance of your outdoor space but also provides essential protection against the elements. To truly appreciate the value of deck staining, it’s important to understand what it is, how it works, and why it’s an important part of maintaining your deck. Let’s dive into the details.
What is Deck Staining?
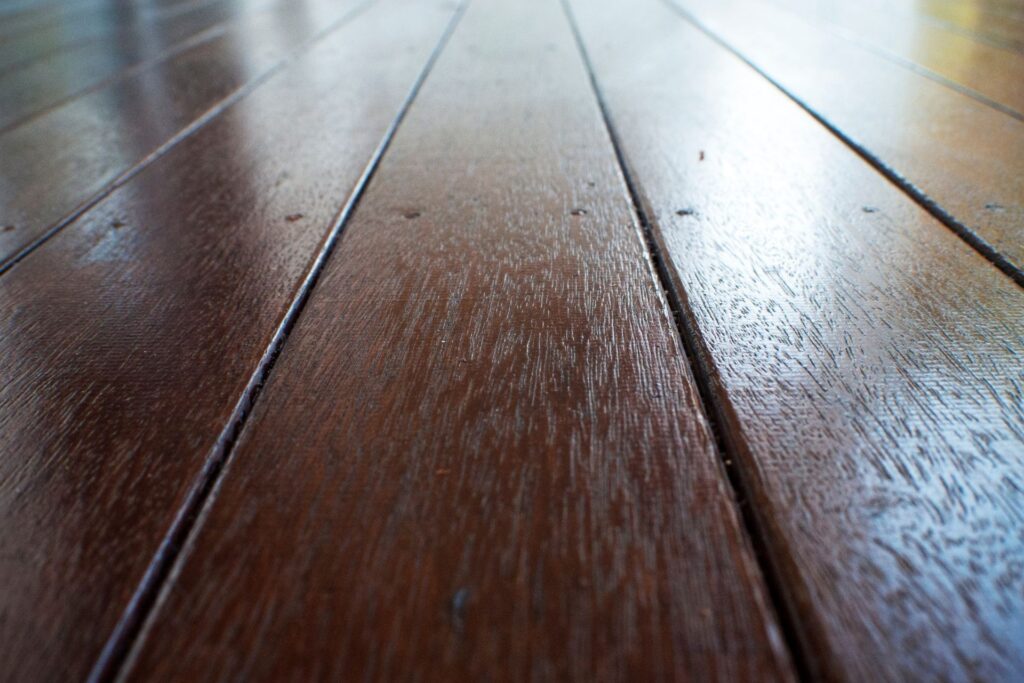
Deck staining is the process of applying a pigmented liquid, known as a stain, to the wood surface of a deck. Unlike paint, which creates a solid, opaque layer on top of the wood, deck stains penetrate the wood fibers, soaking into the material to provide both color and protection. This is a key difference between staining and painting. While paint sits on the surface, hiding the natural texture and grain of the wood, a stain allows the natural beauty of the wood to show through.
Staining is also distinct from sealing. While both processes aim to protect the wood, a sealer typically does not contain any pigmentation and focuses solely on creating a moisture-resistant barrier. Stains, on the other hand, provide the dual benefits of enhancing the wood’s natural color and providing a protective barrier against moisture, UV rays, and other environmental factors. The penetrating nature of the stain means that it doesn’t just coat the surface; it actually gets into the wood, providing a deeper level of protection.
Why Stain Your Deck?
There are several compelling reasons to stain your deck, all of which contribute to the longevity and aesthetic appeal of your outdoor living space.
1. Protection Against Weather Damage
One of the primary reasons to stain your deck is to protect it from the damaging effects of weather. Wood is a porous material that can easily absorb moisture, leading to problems such as warping, cracking, and splintering. Over time, exposure to rain, snow, and sunlight can cause significant damage to an untreated deck. Staining helps to seal the wood, preventing water from soaking in and causing these issues. Furthermore, many deck stains contain UV blockers that protect the wood from the sun’s harmful rays, which can cause fading and breakdown of the wood fibers.
2. Prevention of Mold and Mildew
In addition to water and sun damage, wood decks are also susceptible to mold and mildew growth, especially in humid or shaded environments. Mold and mildew not only cause unsightly stains but can also make the deck slippery and unsafe. By applying a high-quality deck stain, you create a barrier that inhibits the growth of mold and mildew, keeping your deck looking clean and safe to use.
3. Prolonging the Deck’s Lifespan
A well-maintained deck can last for many years, but without proper care, even the best-built deck can deteriorate rapidly. Staining your deck is a simple yet effective way to extend its lifespan. The stain helps to keep the wood healthy by preventing rot and decay, which can compromise the structural integrity of the deck over time. Regular staining also allows you to inspect your deck for any signs of damage, ensuring that any necessary repairs are made promptly before minor issues turn into major problems.
4. Enhancing Aesthetic Appeal
Beyond protection, one of the most popular reasons for staining a deck is to enhance its aesthetic appeal. A freshly stained deck looks vibrant and polished, making your outdoor space more inviting. Stains come in a variety of colors and finishes, from transparent stains that let the natural beauty of the wood shine through to solid stains that offer a more uniform look. By choosing the right stain, you can complement the style of your home and create a cohesive outdoor living area. Additionally, staining can help mask any imperfections or discolorations in the wood, giving your deck a fresh, updated appearance.
In conclusion, deck staining is not just about maintaining the structural integrity of your deck; it’s also about keeping it looking its best. By understanding what deck staining involves and why it’s necessary, you can make informed decisions about how to care for your deck, ensuring it remains a beautiful and functional part of your home for years to come. Whether you’re looking to protect your investment, prevent costly repairs, or simply enhance your outdoor living space, deck staining offers a practical solution that combines both form and function.
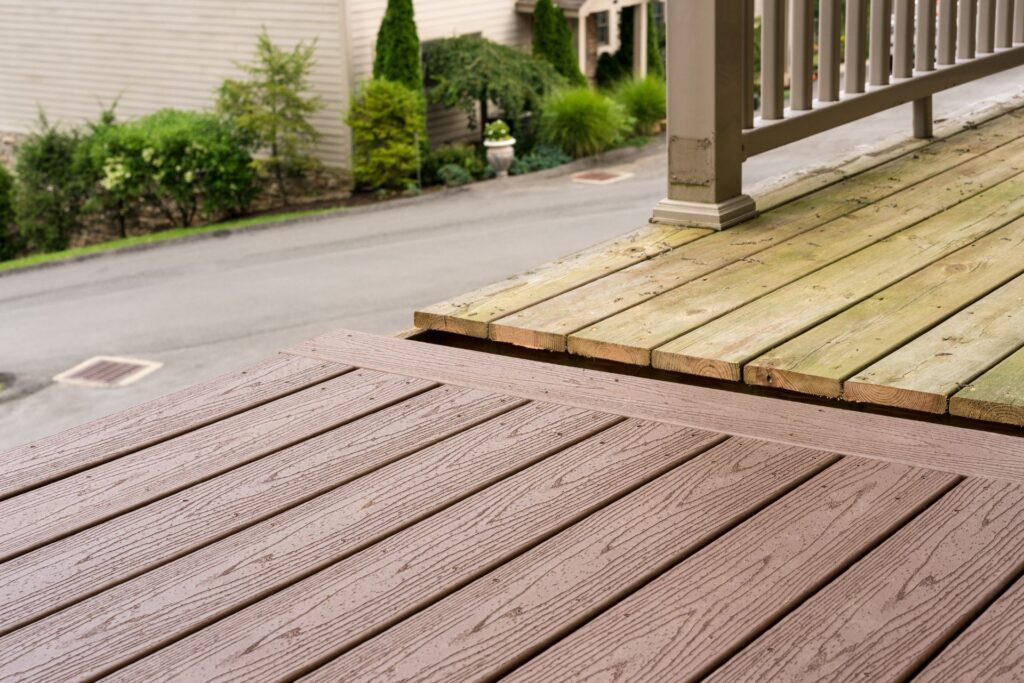
Choosing The Right Stain For Your Deck
When it comes to maintaining and beautifying your deck, selecting the right stain is crucial. In New Zealand, the unique climate and the variety of wood types commonly used for decking require a thoughtful approach to choosing the appropriate stain. This guide will walk you through everything you need to know to make an informed decision, ensuring your deck not only looks fantastic but also stands up to the elements for years to come.
Types of Wood Commonly Used for Decks in NZ
New Zealand’s diverse climate and outdoor lifestyle make decking a popular choice for homeowners looking to expand their living space. Understanding the types of wood commonly used for decks in New Zealand is the first step in selecting the right stain.
1. Pine: Treated pine is a popular choice for decking in New Zealand due to its affordability and availability. It’s relatively soft, making it easy to work with, but it does require regular maintenance to prevent rot and weather damage. The right stain can help protect pine from moisture and UV damage, extending its lifespan.
2. Hardwoods: New Zealanders often prefer hardwoods like Kwila and Jarrah for their natural durability and rich color. Hardwoods are more resistant to wear and tear and tend to last longer than softer woods like pine. However, they are also more expensive. These woods have natural oils that resist rot and insect damage, but staining them can enhance their natural beauty and provide additional protection.
3. Composite Materials: Composite decking, made from a blend of wood fibers and plastic, is becoming increasingly popular due to its low maintenance requirements and durability. While composite decks don’t need staining for protection, a stain can be used to refresh or change their color.
Understanding the characteristics of your deck’s material is crucial in choosing the right stain, as different woods and composites react differently to stains.
Types of Deck Stains
Selecting the right type of stain is as important as choosing the right wood. There are several types of deck stains available, each offering different levels of opacity and protection:
1. Transparent Stains: These stains provide minimal color, allowing the natural beauty and grain of the wood to shine through. They offer basic protection against the elements, such as UV rays and moisture, making them ideal for newer or high-quality woods that you want to showcase.
2. Semi-Transparent Stains: These stains add a subtle color to the wood while still allowing some of the natural grain to show through. They provide a higher level of protection against weathering compared to transparent stains, making them a good choice for decks exposed to moderate sun and rain.
3. Semi-Solid Stains: Offering more pigmentation than semi-transparent stains, semi-solid stains hide more of the wood grain while still highlighting the wood’s texture. They provide even better protection against UV rays and are suitable for older decks or those exposed to harsher conditions.
4. Solid Stains: Solid stains offer the most coverage, completely hiding the wood grain but still highlighting the texture. They are ideal for older decks that have seen some wear and tear or if you want to change the color of your deck significantly. Solid stains offer the best protection against UV rays and moisture.
Choosing the right stain type depends on both your aesthetic preferences and the level of protection needed based on your deck’s wood type and location.
Factors to Consider When Choosing a Stain
Several factors should influence your decision when selecting a deck stain:
1. Climate Considerations in New Zealand: New Zealand’s climate varies significantly across the country, from the wet and mild conditions in Auckland to the harsher, more variable climate of the South Island. If your deck is in an area with high sun exposure, such as the Bay of Plenty or Hawke’s Bay, you’ll need a stain with excellent UV protection to prevent fading and wood damage. Conversely, in wetter regions like Wellington, a stain with good moisture resistance and mold inhibitors is essential to prevent rot and decay.
2. Desired Look and Finish: Consider what you want your deck to look like. If you prefer a natural look that highlights the beauty of the wood grain, a transparent or semi-transparent stain might be your best choice. For those who want to add a pop of color or cover up imperfections in older decks, semi-solid or solid stains offer more pigmentation and a more uniform finish.
3. Environmental Considerations: If you are environmentally conscious, consider choosing an eco-friendly stain. Look for products that are low in volatile organic compounds (VOCs) to minimize environmental impact. Some stains are specifically designed to be eco-friendly, using water-based formulas that are less harmful to the environment while still providing effective protection for your deck.
By considering these factors, you can choose a stain that not only enhances the appearance of your deck but also provides the right level of protection based on your specific needs and environmental conditions.
Choosing the right stain for your deck in New Zealand involves more than just picking a color. It’s about understanding your deck’s wood type, the local climate, your aesthetic preferences, and any environmental considerations. By taking the time to consider these factors, you can ensure that your deck remains a beautiful and functional part of your outdoor space for years to come.
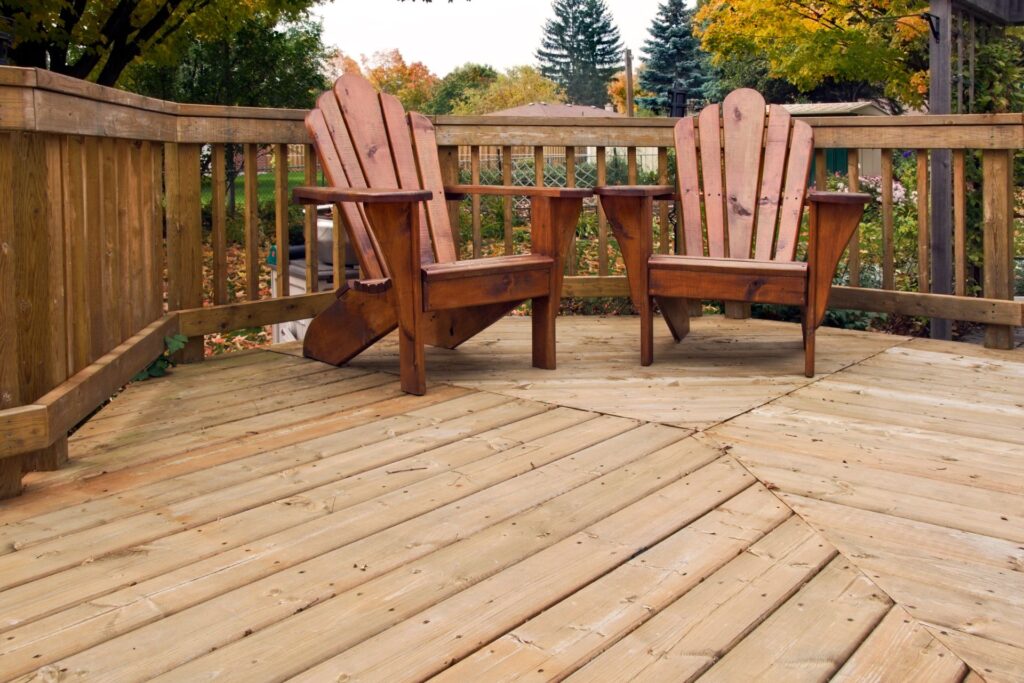
Preparing Your Deck For Staining
Staining your deck is a great way to enhance its appearance and protect it from the elements. However, proper preparation is key to achieving the best results. This section will guide you through the necessary steps to prepare your deck for staining, including a list of essential tools and materials, a detailed step-by-step process, and important safety tips. By following these guidelines, you’ll ensure a smooth and even finish that will last for years.
Tools and Materials You Will Need
Before you begin, gathering all the necessary tools and materials is important to ensure a seamless staining process. Here’s a list to help you get started:
Essential Tools and Materials
- Brushes and Rollers: These are necessary for applying the stain evenly across the deck’s surface. Choose high-quality brushes and rollers designed for outdoor use to ensure durability and a smooth finish.
- Deck Stain: Selecting the right stain is crucial. There are different types, such as oil-based and water-based stains, each with its benefits. Make sure to choose a stain that suits your deck’s wood type and desired finish.
- Drop Cloths: Protect surrounding areas from stain splatters and drips. Drop cloths are essential for covering nearby plants, furniture, and surfaces.
- Safety Gear: Gloves, masks, and goggles protect you from chemical exposure and wood dust, especially when cleaning or sanding the deck.
Optional Tools and Materials
- Deck Cleaner: A specialized cleaner can help remove dirt, mildew, and algae from the deck, ensuring a clean surface for the stain to adhere to.
- Power Washer: This tool can make cleaning easier, especially for larger decks or heavily soiled areas. Be cautious with the pressure settings to avoid damaging the wood.
- Sandpaper or Power Sander: Necessary for smoothing rough areas and preparing the wood to absorb the stain evenly.
- Wood Filler: Useful for repairing small cracks or holes in the wood before staining.
Step-by-Step Preparation Process
Preparing your deck for staining involves several important steps. Following these steps will ensure that the stain adheres properly and provides long-lasting protection.
1. Cleaning the Deck
Start by thoroughly cleaning your deck. This step is crucial as any dirt, debris, or mildew left on the surface can prevent the stain from adhering properly. Use a deck cleaner or a mild detergent mixed with water. Apply the solution with a brush or roller, working it into the wood to remove grime. If using a power washer, set it to a low-pressure setting to avoid damaging the wood fibers. After cleaning, rinse the deck thoroughly with water and allow it to dry completely. This process can take up to 48 hours, depending on the weather conditions.
2. Repairing and Sanding
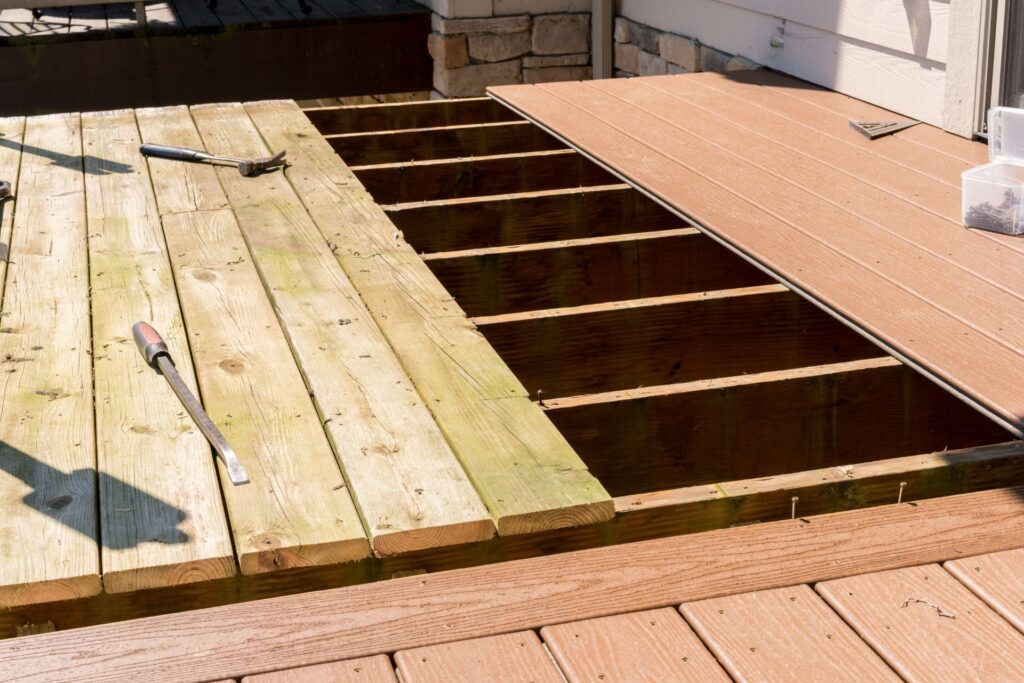
Once the deck is clean and dry, inspect it for any signs of damage. Look for loose nails, screws, or boards that need to be replaced. If you find any, secure them properly to avoid further damage. Next, use sandpaper or a power sander to smooth rough spots and splinters on the deck’s surface. Sanding also helps the wood absorb the stain more evenly, resulting in a uniform finish. Be sure to wipe away any sanding dust with a damp cloth before moving on to the next step.
3. Protecting Surrounding Areas
Before applying the stain, take precautions to protect nearby plants, furniture, and surfaces from potential drips and splatters. Use drop cloths to cover these areas. If you have any delicate plants near the deck, consider using plastic sheeting or tarps to shield them from chemical exposure. This step is important to prevent accidental staining and ensure a clean work area.
Safety Tips
Safety should always be a top priority when preparing your deck for staining. Here are some essential safety tips to keep in mind:
- Wear Protective Gear: When handling chemical cleaners, power tools, or wood dust, always wear appropriate protective gear. Gloves will protect your hands from splinters and chemicals, while masks and goggles will safeguard your respiratory system and eyes from dust and fumes.
- Work in a Well-Ventilated Area: If using chemical cleaners or stains, make sure the area is well-ventilated to avoid inhaling harmful fumes. Open windows and doors, and consider using a fan to increase air circulation.
- Handle Power Tools with Care: When using power tools like sanders or washers, read the manufacturer’s instructions carefully and follow all safety guidelines. Keep your hands and fingers away from moving parts, and always unplug tools when not in use.
By carefully preparing your deck for staining, you can ensure a beautiful, durable finish that will protect your outdoor space for years to come. Following these steps will make the staining process easier and more effective, resulting in a deck that looks great and stands up to the elements.
Staining Your Deck: A Step-By-Step Guide
Staining your deck is a crucial part of maintaining its beauty and longevity. Not only does staining enhance the natural look of the wood, but it also protects it from the elements, preventing damage from moisture, UV rays, and daily wear and tear. To ensure a flawless finish that lasts, it’s essential to follow a step-by-step process that addresses every detail, from selecting the perfect weather conditions to applying multiple coats. Let’s dive into each step to make your deck look stunning and ensure it stands up to the test of time.
Step-by-Step Staining Process
1. Choosing the Right Weather Conditions
The first step in staining your deck is selecting the right weather conditions. This might seem like a minor detail, but it can significantly impact the final result. Ideally, you want to stain your deck during dry weather with moderate temperatures, typically between 50°F and 90°F (10°C to 32°C). Humidity levels should also be low to moderate. Staining in these conditions ensures that the stain adheres properly to the wood and dries evenly.
If you stain your deck on a rainy day or when the wood is wet, the stain will not absorb properly, leading to an uneven finish and potential peeling or flaking later on. Similarly, if it’s too hot, the stain may dry too quickly, leaving lap marks and an uneven appearance. Therefore, check the weather forecast and pick a dry, mild day for this project.
2. Applying the Stain
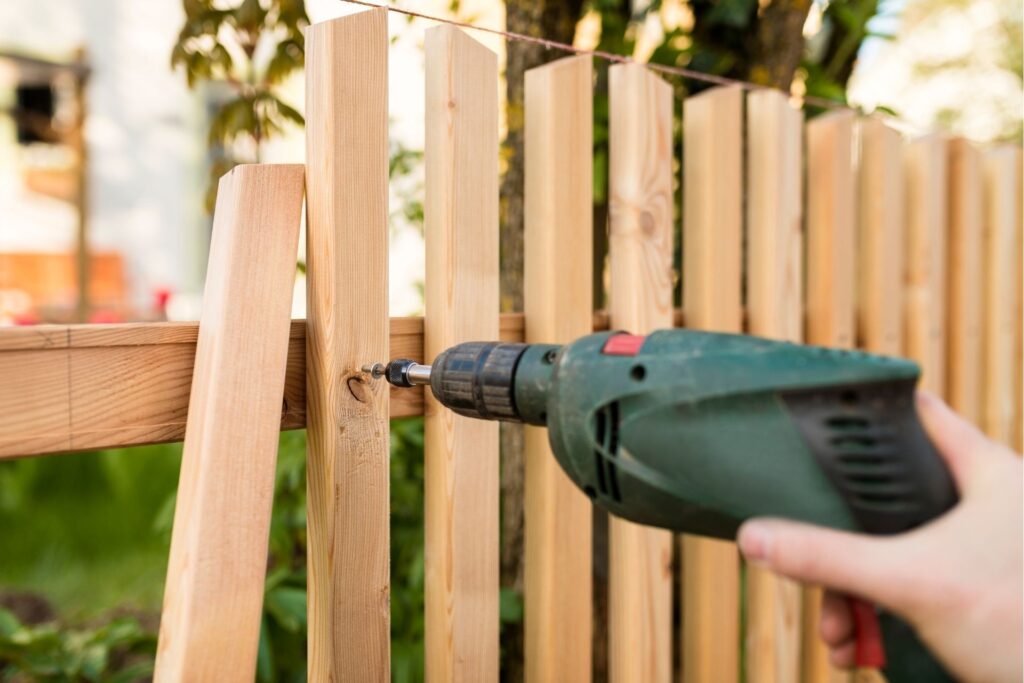
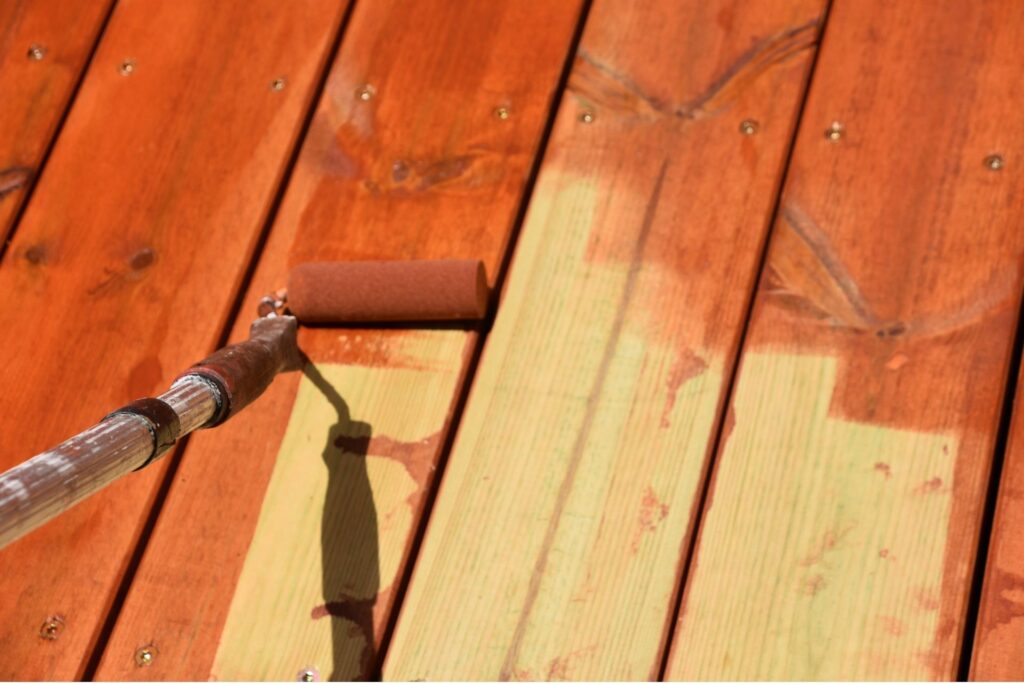
Once you have the right weather, it’s time to apply the stain. There are several methods to apply stain to a deck: you can use a brush, roller, or sprayer. Each tool has its advantages, but the key is to apply the stain evenly and with the grain of the wood to enhance its natural texture and appearance.
- Brush: Using a brush gives you better control over the application and allows you to work the stain deep into the wood’s pores. This method is ideal for detailed areas and corners where a roller or sprayer might miss.
- Roller: A roller is excellent for covering large, flat surfaces quickly. Make sure to choose a roller with the appropriate nap length for the texture of your deck wood.
- Sprayer: A sprayer can speed up the process, especially for large decks, but it requires a bit more skill to avoid overspray and ensure even coverage.
Regardless of the method, always work in small sections and follow the wood grain to avoid streaks and lap marks. Take your time and do not rush the application process, as even coverage is essential for a beautiful and durable finish.
3. Allowing Proper Drying Time
After applying the first coat of stain, it’s crucial to allow adequate drying time before applying additional coats. The drying time can vary depending on the type of stain you use (water-based or oil-based), the wood type, and the weather conditions. As a general rule, wait at least 24 to 48 hours between coats.
Proper drying time is vital because it ensures that the stain fully penetrates the wood and creates a solid, protective layer. If you rush this process, the finish may look blotchy, and the stain could peel or flake prematurely. Make sure to check the manufacturer’s instructions on the stain can for specific drying times and recommendations.
4. Applying Additional Coats
Depending on the type of wood and the opacity you desire, you might need to apply a second or even third coat of stain. Softer woods, like pine, often require additional coats to achieve a uniform appearance, while harder woods, like oak or teak, may need fewer coats.
When applying additional coats, use the same method as the first coat, ensuring even coverage and working with the wood grain. Always allow each coat to dry completely before applying the next one. Multiple coats not only enhance the color but also add extra protection against the elements, ensuring your deck looks beautiful for years to come.
Common Mistakes to Avoid
Staining a deck might seem straightforward, but there are common mistakes that can compromise the result:
- Overapplying Stain: Applying too much stain can lead to a sticky surface that never fully dries. It’s better to apply thin, even coats and build up the finish gradually.
- Staining Wet Wood: Always ensure the wood is completely dry before staining. Staining wet wood prevents the stain from penetrating properly, leading to a weak, uneven finish.
- Ignoring Drying Times: Skipping or rushing the drying process between coats can result in a poor finish that doesn’t last. Be patient and follow the recommended drying times for the best results.
By following these steps and avoiding common pitfalls, you’ll achieve a professional-looking finish that protects your deck and keeps it looking great for years. Remember, the key to a successful staining project is preparation, patience, and attention to detail. With the right approach, your deck will be the perfect spot for relaxing and entertaining all year round.
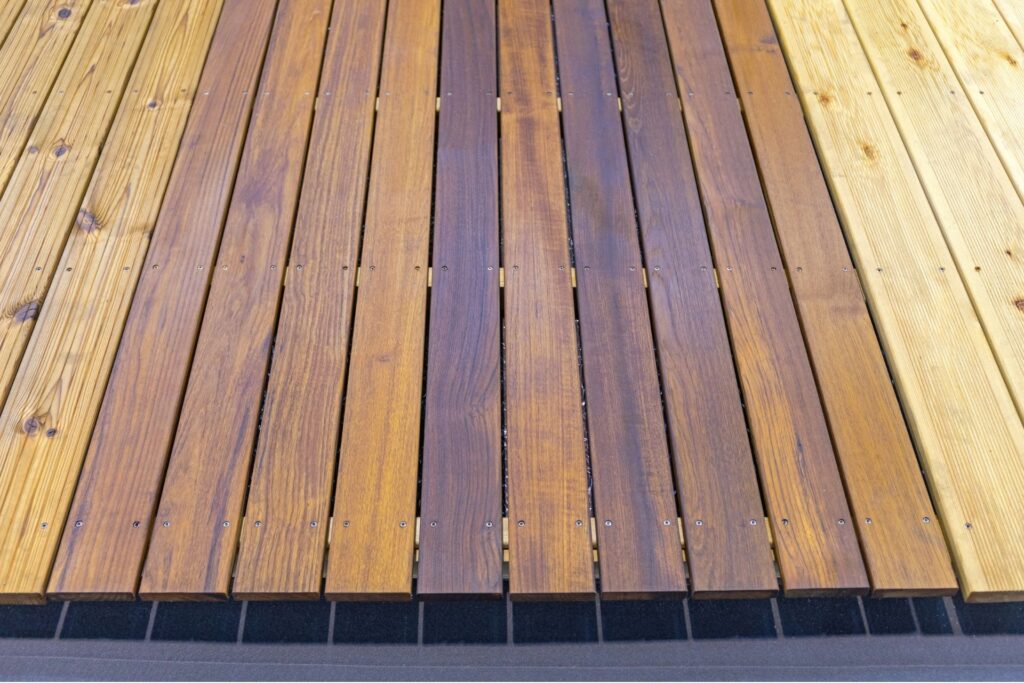
Post-Staining Maintenance Tips
After investing time and effort into staining your deck, it’s crucial to ensure that your hard work lasts. Proper maintenance not only preserves the aesthetic appeal of your deck but also extends the life of the stain, protecting the wood from the elements. In this section, we’ll discuss some essential post-staining maintenance tips, including curing and drying time, regular upkeep, and how to handle spot treatments and touch-ups.
Curing and Drying Time
Once you’ve applied the stain, it’s important to allow sufficient time for the deck to cure and dry before placing furniture on it or walking across it. The curing process is vital because it ensures the stain has fully adhered to the wood and has developed the durability needed to withstand everyday use. Generally, most stains require at least 24 to 48 hours to dry to the touch, but this can vary depending on the type of stain used, weather conditions, and the level of humidity.
For oil-based stains, the drying time might be a bit longer, especially in cooler or more humid climates. In contrast, water-based stains tend to dry faster but still require time to cure properly. It’s best to avoid any heavy traffic, including placing furniture or planters, for at least 48 hours. If possible, wait up to a week to ensure the stain has fully set. This extra time allows the stain to penetrate deeply into the wood, providing a stronger and longer-lasting finish.
Regular Maintenance to Prolong the Life of Your Stain
Regular maintenance is key to keeping your stained deck looking fresh and vibrant. Over time, exposure to the sun, rain, and other environmental factors can cause the stain to fade or wear down. To combat this, it’s essential to keep your deck clean and free from debris. A simple sweep with a broom can prevent leaves and dirt from accumulating and causing stains or mold growth. Additionally, washing the deck with a mild detergent and water every few months can help remove any buildup of grime or mildew.
Consider using a specialized deck cleaner to deep clean the wood once or twice a year. These cleaners are designed to remove dirt and mildew without stripping away the stain. It’s also a good practice to periodically check for signs of wear, such as fading, peeling, or cracking. If you notice these issues, it may be time to apply a fresh coat of stain. Regular reapplication, typically every two to three years, depending on the type of stain and environmental exposure, will help maintain the protective barrier and keep your deck looking its best.
Spot Treatments and Touch-Ups
Despite your best efforts, high-traffic areas or spots exposed to the elements may show signs of wear more quickly than others. Instead of restaining the entire deck, you can perform spot treatments to address these areas. Start by lightly sanding the worn or damaged area to remove any loose or peeling stain and to smooth the surface. Next, clean the area thoroughly to remove any dust or debris. Once dry, apply a thin coat of stain, feathering the edges to blend it seamlessly with the surrounding wood.
Allow the spot-treated area to dry completely before using the deck again. If necessary, apply a second coat to match the surrounding color and finish. This targeted approach not only saves time and effort but also extends the life of your stain and keeps your deck looking uniform and well-maintained.
By following these post-staining maintenance tips, you can ensure that your deck remains a beautiful, functional space for years to come. Remember, a little maintenance goes a long way in protecting your investment and enhancing the natural beauty of your outdoor living area.
FAQs: About How To Stain A Deck NZ
Can I stain my deck without sanding it first?
While it is technically possible to stain a deck without sanding, it is not recommended. Sanding the deck ensures a smooth surface and helps the stain adhere better to the wood. Skipping this step can lead to uneven staining and a less durable finish.
How long does a deck stain typically last in New Zealand?
The longevity of a deck stain in New Zealand depends on several factors, including the type of stain used, the quality of the wood, and the local climate conditions. On average, a good-quality stain can last between 2 to 5 years. Regular maintenance, such as cleaning and reapplying a protective coat, can help extend the life of the stain.
What’s the best time of year to stain a deck in NZ?
The best time to stain a deck in New Zealand is during the warmer, drier months—typically late spring to early autumn. This period provides ideal conditions for staining, with mild temperatures and low humidity, which help the stain dry evenly and effectively.
How do I choose between oil-based and water-based stains?
Choosing between oil-based and water-based stains depends on your specific needs and preferences. Oil-based stains penetrate deeper into the wood, providing long-lasting protection and highlighting the natural grain. They are ideal for older or weathered decks. Water-based stains dry faster, have lower VOCs (Volatile Organic Compounds), and are easier to clean up, making them a good option for newer decks and those looking for an eco-friendlier choice.
What should I do if it rains soon after staining?
If it rains shortly after staining, the stain may not have had enough time to dry and cure properly, potentially leading to patchy or uneven coverage. If this happens, allow the deck to dry completely, then inspect it for any damage or uneven areas. You may need to lightly sand the affected areas and reapply the stain for a consistent finish.
How many coats of stain should I apply to my deck?
The number of coats depends on the type of stain and the desired finish. Generally, one to two coats are sufficient for most stains. A second coat can provide a richer color and extra protection. Be sure to follow the manufacturer’s instructions regarding the number of coats and drying time between applications.
Can I stain over an old stain?
Yes, you can stain over an old stain, but the existing stain should be in good condition, without peeling or flaking. Clean the deck thoroughly and lightly sand the surface to remove any loose stain and ensure proper adhesion of the new stain. If the old stain is in poor condition, it may need to be removed entirely before applying a new one.
How do I maintain my stained deck?
Maintaining a stained deck involves regular cleaning to remove dirt, debris, and mildew, which can damage the stain over time. It is also important to inspect the deck periodically for signs of wear or damage. Reapply a protective clear coat every year or as needed to maintain the deck’s appearance and protection.
Is it necessary to use a primer before staining a deck?
Primers are generally not required for deck staining, especially if you are using a high-quality stain that is designed for outdoor wood surfaces. However, some people prefer to use a wood conditioner or sealer before staining, particularly on softwoods like pine, to promote even stain absorption and enhance the finish.
What tools do I need for staining a deck?
The basic tools required for staining a deck include a deck cleaner, scrub brush or pressure washer, sandpaper or power sander, stain brushes or rollers, painter’s tape, drop cloths, and the stain itself. Additionally, you may need safety gear like gloves, a mask, and goggles to protect yourself during the cleaning and staining process.
Conclusion
In conclusion, staining a deck is a crucial step for homeowners in New Zealand who want to preserve the beauty and longevity of their outdoor space. Staining not only enhances the aesthetic appeal of a deck, making the wood grain pop with rich color, but also provides essential protection against the harsh elements, including UV rays and moisture that can cause warping, cracking, and mildew. To achieve the best results, it’s important to follow key steps such as thoroughly cleaning the deck, selecting the right stain type, and applying it evenly with careful attention to drying times. By taking these steps, homeowners can ensure their deck remains in top condition for years to come. Whether you’re a DIY enthusiast eager to tackle the project yourself or considering the expertise of a professional for more extensive jobs, the benefits of staining your deck are clear: a beautiful, durable outdoor space that adds value and enjoyment to your home.
About the Author:
Mike Veail is a recognized digital marketing expert with over 6 years of experience in helping tradespeople and small businesses thrive online. A former quantity surveyor, Mike combines deep industry knowledge with hands-on expertise in SEO and Google Ads. His marketing strategies are tailored to the specific needs of the trades sector, helping businesses increase visibility and generate more leads through proven, ethical methods.
Mike has successfully partnered with numerous companies, establishing a track record of delivering measurable results. His work has been featured across various platforms that showcase his expertise in lead generation and online marketing for the trades sector.
Learn more about Mike's experience and services at https://theleadguy.online or follow him on social media:

